Sunday, December 25, 2011

Tote bags

For Christmas this year, we decided to give home made gifts to some of our friends and my co-workers.  I found a super easy tutorial on how to make tote bags. After a trying experience with my last baby gift ( the 3 month onesie...) I was ready for a new challenge.  I had my super helper, the hubby, assisting in making precise cuts and offering helpful tips along the way.  (background: his mother is a seamstress.  He grew up around machines and would often help her stitch, iron, cut, etc. I hate to admit it,but he does know a thing or two about this...) Once we had our first bag, we realized the dimensions were a little small (12x12).  We decided to tweak the pattern by increasing dimensions somewhat.  THEN, we had the genious idea of turning it into a wine tote.  We REALLY tweaked the dimensions and this is what we created:


The best part is each bag is reversable.  I've given 4 of these away so far with a bottle of wine in each (thankful for the reverse stitch) and have had raving reviews.  Makes the perfect gift bag!  Out of all the fabric I purchased for this initial project (to make 3 totes), I've created 12 gifts so far!

For the babes

Again, the reason I got into this was to create the adorable baby gifts I used to buy for my friends/family.   Here's what I'm doing, now that I have the hang of it:


First Timers

So, the real reason I developed an interest in sewing, not unlike my photography, was getting tired of  paying someone money, good money, for cute personalized items i.e baby gifts, wedding items, and back in the day, my X and a Horseshoe gear (Chi O!).  My husband is very crafty.  He's a helicopter mechanic by trade, but has the ability to look at something and be able to visualize and understand how it works and how to duplicate it.  I never understood why, when we'd go into a furniture store or shop somewhere, he'd get so mad about purchasing an item.  Instead, he'd buy all the materials needed and MAKE it himself.  Well, I totally get it now. 
ANYWAYS-- here is my first project.  After finally figuring out how to wind my bobbin thread (post-actually learning what the bobbin was) and thread my needle, I skipped the straight stitch and went right for the embroidery!!


Not much to look at, BUT, I made it.  My husband and I were in awe as we watched the machine magically follow it's instructions and make us this heart.  We figured we were so good, we'd try appliqueing:
Haha.  We've come a long way...  (We, meaning, my amazingly supportive, but passively competitive husband xoxo)  After this, we decided I should back up and try simply sewing two pieces of fabric together.  Its not unlike me to want to skip the easy and master the hard stuff. 


First things first

THE MACHINE:
Brother SE 400

Before I received this precious child, I really did some research on sewing machines... Basically, I googled "best sewing and embroidery machines" and went with the first result :)  I was linked to amazon and read a few reviews on machines.  This particular machine was one of the highest rated.  Here are my tips for purchasing a sewing machine:
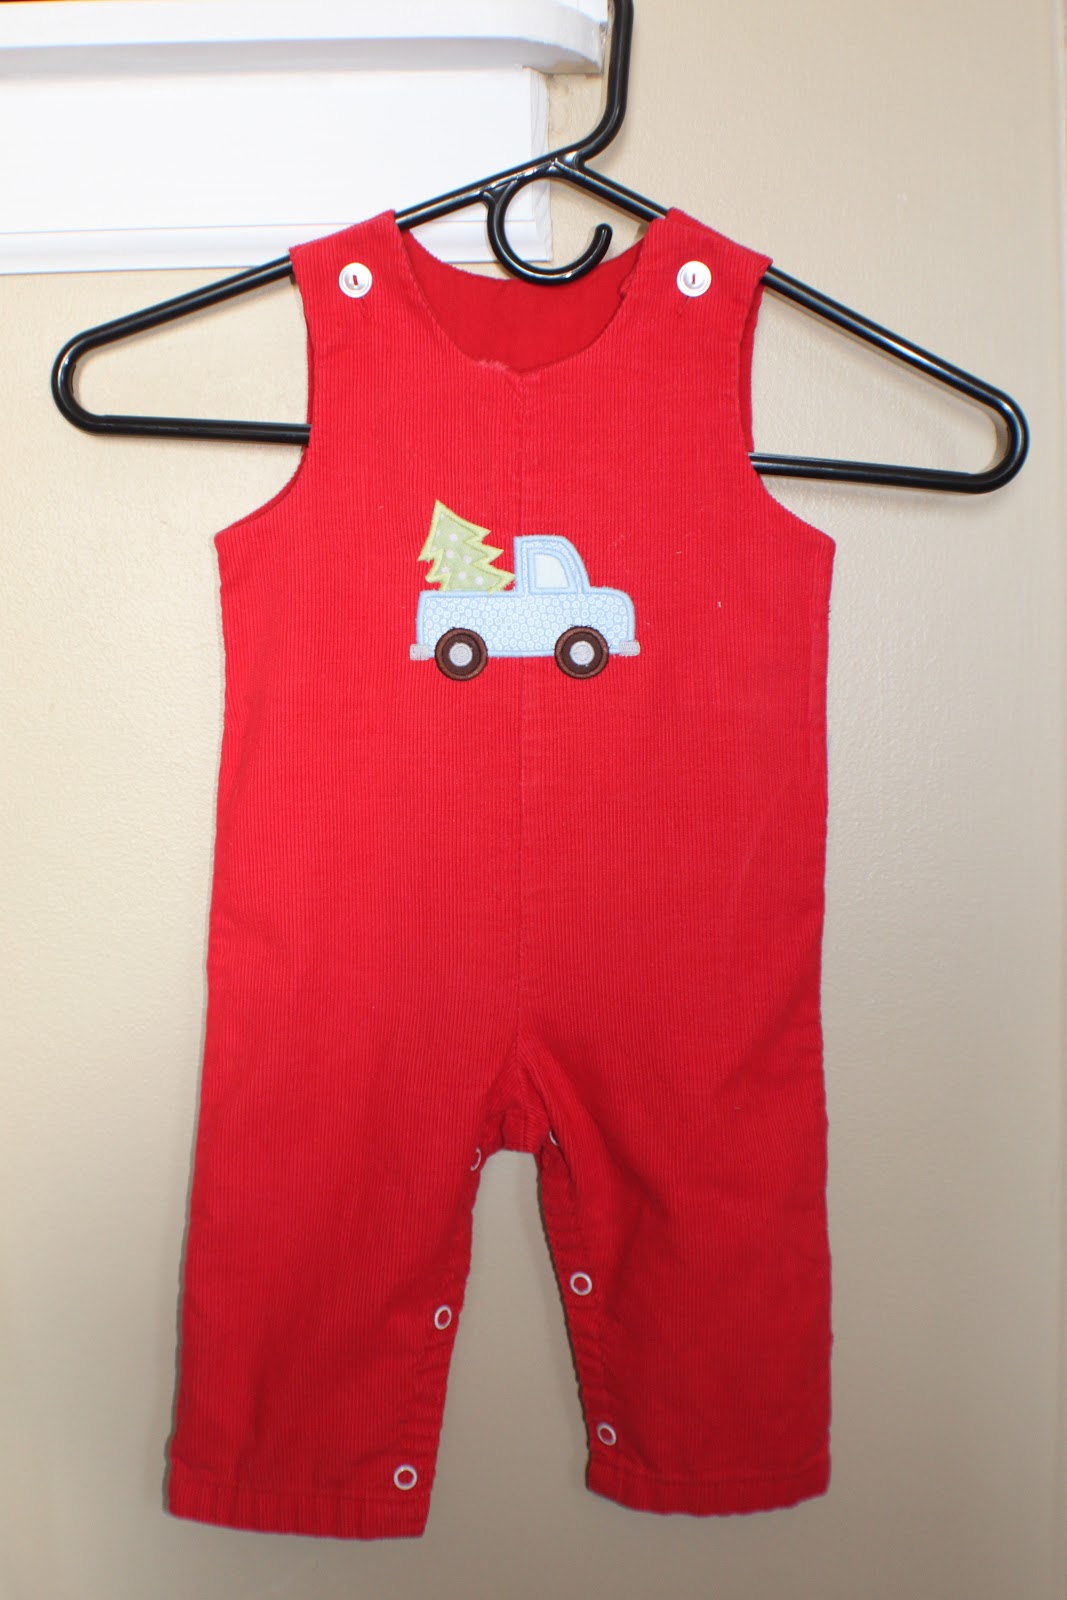
1.  Decide what it is you want to do.  Meaning, do you want to straight sew, ie. make clothes, totes, or repair, OR do you want to applique, embroider, or monogram?  (Um, have to admit I didn't know the difference between embroidering and monogramming... If you're like me: monogramming is just the three letters/initials.  Otherwise, when you stitch words, names, pictures, etc. onto something it's called embroidery.)
2.  Really think about your big picture.  What's your goal?  For fun? Or would you like to produce a good that will bring some extra cash in?  This will influence the type of machine you purchase.
3.  Look into purchasing a machine from an actual store.  Forgo the cyber world and actually walk into a store like Joanns or your local sewing shop.  Most of these places will sell you a machine and include FREE instructional classes.  <== Huge deal.  In hindsight, I wish I would have gone this route. 
4.  Unless you've had experience sewing in the past, I would not recommend skipping straight for the $1000 machine with all the bells and whistles. (unless it comes with a class :) )
5. When you get your machine, read the manual.  Like I've said, I'm a complete novice.  2 months ago I couldn't even tell you what the words bobbin or presser foot meant.  I tried to hand thread the needle when my machine had an automatic threader, and it took me until last week to realize I could even adjust the tread tension and the reason you'd ever want to do that.   READ THE MANUAL :)
6.  Read sewing blogs and reviews from people actually using it in the same capacity you're hoping to use it for.  Learn from someone else's mistakes!

Lastly, here's a great review for the machine I have. 
Regrets:  Wish I would have thought more about hoop size and software.

Getting Started

It's been a long time coming.  I've finally caught up on shopping, baking, wrapping, and making and have found the time, (whilst listening to the sounds of a machine gun firing as my husband plays his new Xbox), to start my new blog.  Confession:  I'm 29 years old and I just learned how to sew.  There, I said it.  Until my last birthday, I could not even sew on a button.  Come to think of it, I still may not be able to sew on a button, but otherwise, I CAN SEW and I LOVE IT!  I never thought I'd find a past-time/hobby I'd enjoy as much as my husband enjoys staring working on old cars, but I have.  My goal of having this blog is to document my projects, offer tutuorials and helpful sewing tips, and hopefully make a little extra income as a bonus.  The first few posts will be catch up until I get to real time.  So...  Here's to losing free time and gaining a "hobby".